Overview
What Observe is, how teams, projects and applications fit together, and your first project.
NestJS Observe is auto-instrumented observability for NestJS applications. Install the SDK, add an API key, and your application starts streaming requests, jobs, errors, logs, and traces to your dashboard - no manual span wiring, no collector to run, no schema to design.
Every plan includes error monitoring, distributed tracing, and auto-instrumentation out of the box. Paid plans add logs streaming, alerting, team management with an audit log, and - on Scale and above - SSO and SLOs.
Observe covers the Nest services in your system, whether that's all of your backend or part of it - on its own, or beside the OpenTelemetry you already have: a Nest service running the SDK joins the traces your other services share, and services written in other languages share its traces through OpenTelemetry. See SDK → Running beside OpenTelemetry.
Prefer to look before you install? The live demo is this dashboard over a busy service's data - real traces, real waterfalls, no signup.
This page covers the concepts every other doc builds on: accounts, teams, projects, applications, and access control. For instrumenting an application, see SDK. For everything a project's dashboard shows about your telemetry, see Telemetry.
Where things are documented
| Page | Covers |
|---|---|
| Applications | Applications, API keys, teams, members, 2FA, SSO, the audit log, tags |
| SDK | Instrumenting a NestJS application |
| Telemetry | Requests, class-level attribution, errors, jobs, spans, custom metrics, releases, logs, and how to drill from a chart to one execution |
| Traces & spans | The waterfall, self time, error source frames, trace correlation across services, log correlation, and handing a failure to a coding agent |
| MCP server | Querying your telemetry from an MCP-compatible agent: tokens, client setup, and the available tools |
| Users | Per-user activity, grouped actions, replays, and endpoint paths |
| Profiler | CPU, memory, event loop, garbage collection, and per-instance comparison |
| Alerts | Rules, thresholds, anomaly detection, channels, history |
| SLOs | Objectives, error budgets, burn-rate alerts |
| Production rules | What one request or job may do, checked on every kept trace |
| Issues | Tracking the work that comes out of your telemetry |
| Billing & usage | Plans, Observability Events, retention, cost attribution, spend controls |
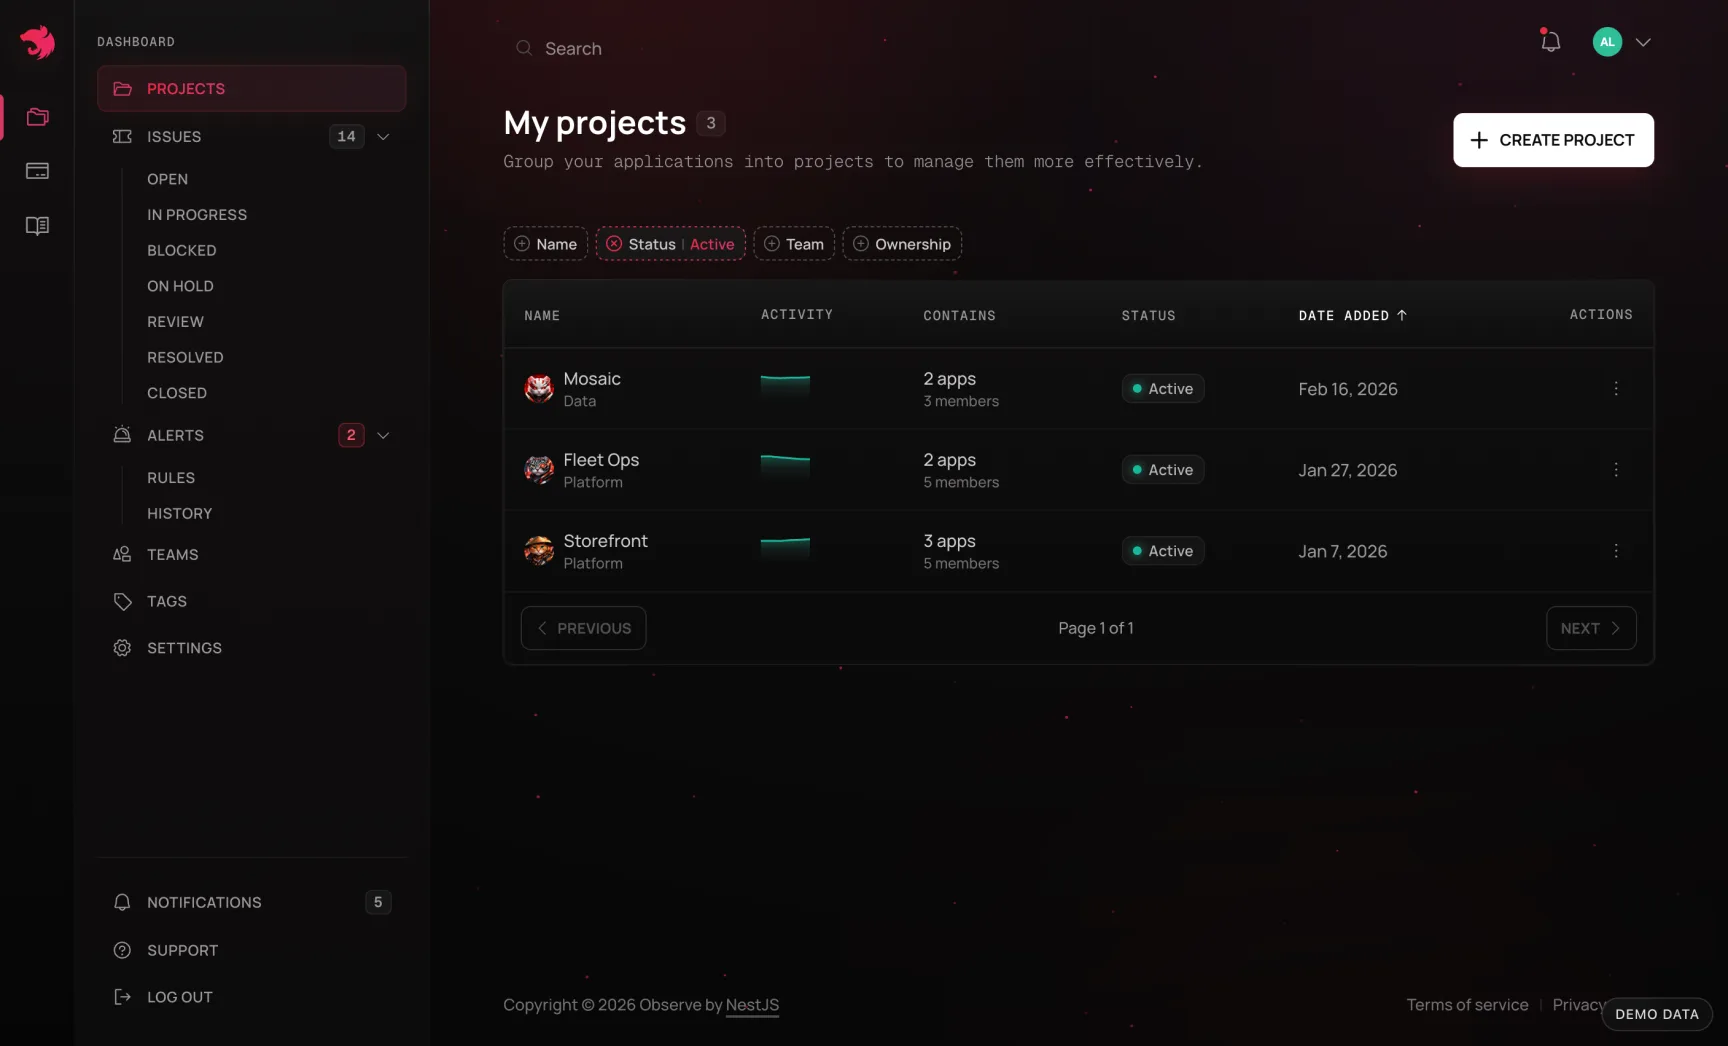
Teams, projects, and applications
NestJS Observe organizes your telemetry in three layers:
- A team is a collection of users. Every project belongs to exactly one team, and team membership is how you grant someone access to more than one project at a time. See Teams.
- A project is a collection of applications that ship together, typically one per product or environment (e.g.
storefront-production,storefront-staging). Projects are what alerts, issues, SLOs, and API keys are scoped to. - An application is a single NestJS service - a REST API, a worker, a microservice - instrumented with the SDK and reporting into a project. A project usually has more than one application: a web API and the queue workers behind it, for example, so you can see them as one system while still filtering down to either.
First project
The quickest start is from your NestJS project's directory: run npx @nestjs/observe link and type the code it prints at observe.nestjs.com/link - signing up first if you're new. Approving creates the project and the application on the spot if you don't have them yet, and the command writes the new key pair into the project's .env. If the app doesn't use the SDK yet, the command installs it and wires it in as well - see SDK → Linking from the terminal.
Starting from the dashboard instead, a new account is met by a short setup guide: accept the invitation and it walks you through the real pages - it highlights Create Project, then takes you to the new project to add an application and an API key, and finishes on the banner that waits for your first event. Turn it down and it stays away for good in that browser; the empty projects table still offers "Walk me through it" whenever you want it back.
Setting up with a coding agent instead? The dialog that shows a new API key's secret has a Copy setup prompt button: the install command, the three code edits and the new credentials as one prompt to paste into Claude Code, Cursor or similar. An agent connected to the MCP server can go one further and create the application and the key itself.
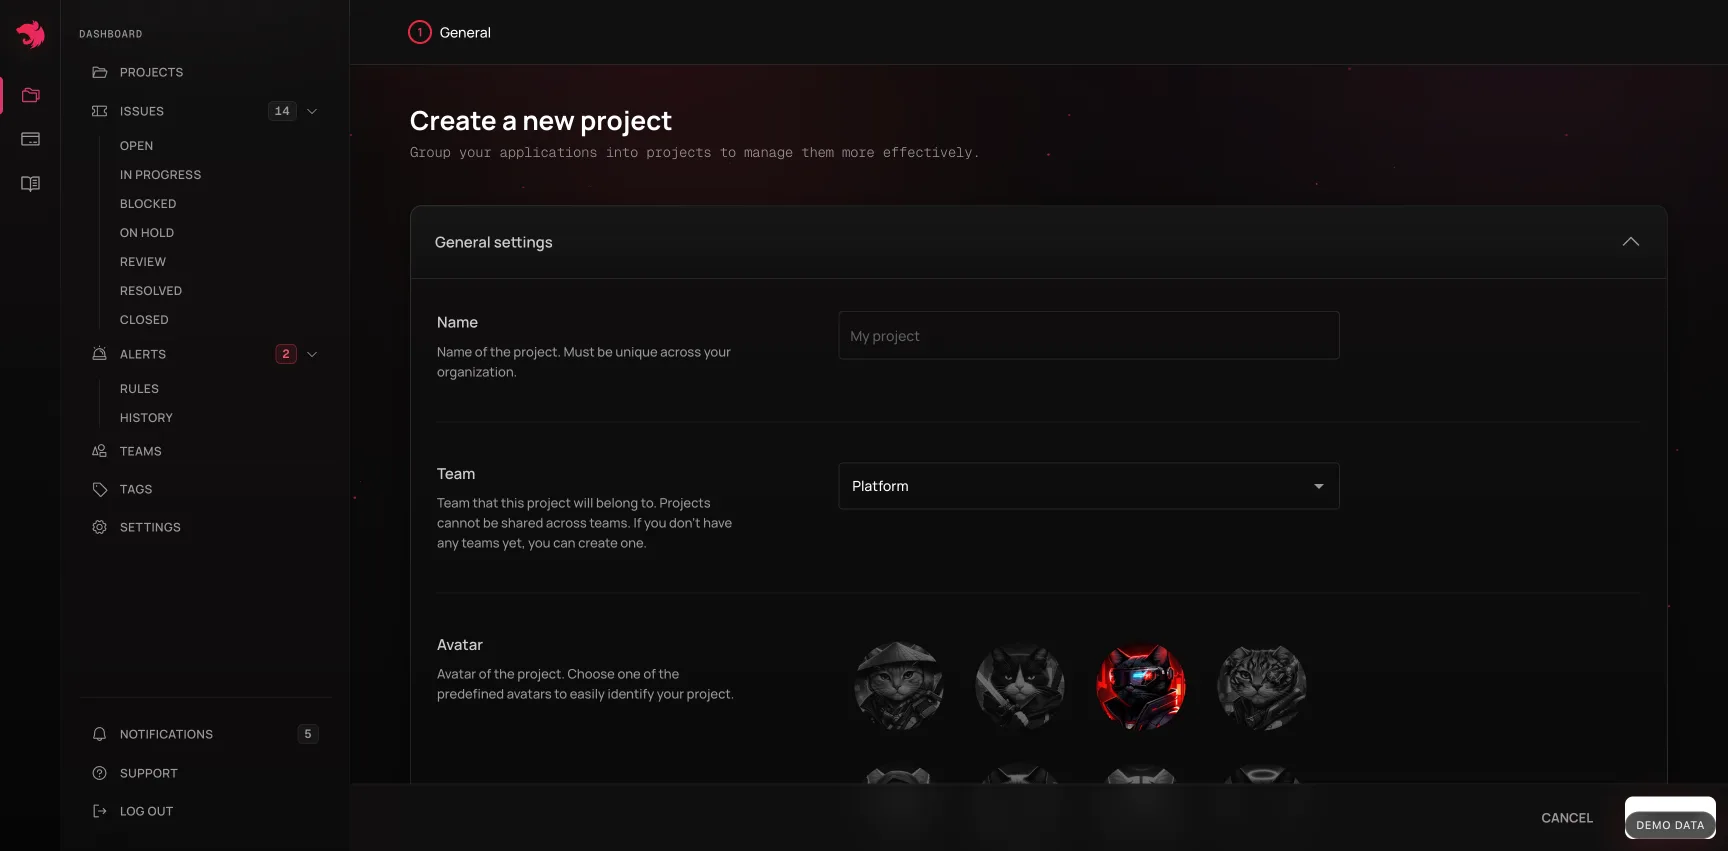
Doing it by hand: create a project and give it a name. Once the project exists, add your first application to it and generate an API key for that project - see Applications for the walkthrough. With the API key in hand, follow the SDK guide to instrument your NestJS app; telemetry starts appearing in the dashboard within moments of your app receiving traffic.
Getting telemetry to an agent
Two ways, and they're for different moments:
- Copy agent prompt turns one page - a failed request, a slow job, a failing trace - into a self-contained markdown prompt. One click, one paste, one question. Best when you already know which execution is the problem and want a coding agent to go fix it.
- The MCP server connects an MCP-compatible client (Claude Code, Claude Desktop, your own agent) straight to the API, so the agent can keep asking: investigate a regression, follow a trace into its logs, check whether an error is still happening - without you relaying each answer back. Scoped to exactly what you can see in the dashboard, and read-only apart from setting up a service and resolving an issue once its fix ships.
Observability Events
Usage is metered in Observability Events (OEs) - one per request, background job run, error, log entry, or trace span your applications report, and these compound: a request with its spans, logs, and any error it raised is several events, not one. The one kind of span that does not count is the agent's own database-query and outbound-HTTP spans - they are detail about a method span already counted. This is the number your plan's monthly allowance and retention window are measured against. See Billing & usage for the full pricing model, and Spend controls for ways to reduce what you send without touching your code.
Access control
Every project member has one of three access levels. Manage members from a project's Members page.
| Capability | Read | Write | Admin |
|---|---|---|---|
| Project | |||
| View the project and its telemetry | ✓ | ✓ | ✓ |
| Rename the project / change its avatar | ✗ | ✗ | ✓ |
| Delete (archive) the project | ✗ | ✗ | creator only |
| Members | |||
| See the member list | ✓ | ✓ | ✓ |
| Invite, change roles, remove members | ✗ | ✗ | ✓ |
| Issues | |||
| View issues | ✓ | ✓ | ✓ |
| Comment on an issue | ✓ | ✓ | ✓ |
| Delete your own comment | ✓ | ✓ | ✓ |
| Delete someone else's comment | ✗ | ✗ | ✓ |
| File an issue | ✗ | ✓ | ✓ |
| Edit an issue (status, severity, title, assignee) | author only | ✓ | ✓ |
| Add or remove attachments | author only | ✓ | ✓ |
| Delete an issue | author only | ✓ | ✓ |
| Alerts | |||
| View alert rules and alert events | ✓ | ✓ | ✓ |
| Create, edit, delete alert rules | ✗ | ✓ | ✓ |
| SLOs | |||
| View SLOs and error budgets | ✓ | ✓ | ✓ |
| Create, edit, delete SLOs | ✗ | ✓ | ✓ |
| Applications | |||
| View applications | ✓ | ✓ | ✓ |
| Create, edit, delete applications | ✗ | ✓ | ✓ |
| API keys | |||
| List keys (name, application, last used) | ✓ | ✓ | ✓ |
| Create and revoke keys | ✗ | ✓ | ✓ |
| Billing | |||
| View spend caps, budgets, and current spend | ✗ | ✗ | ✓ |
| Change caps, sampling, and drop filters | ✗ | ✗ | ✓ |
The author of an issue keeps control of it regardless of role, so someone who filed an issue before losing write access can still correct or withdraw it.
API key secrets are shown once, at creation, and are never retrievable afterwards by any role.
Rules that apply on top of roles
- An active subscription is required for most changes. Creating applications, API keys, or issues, and editing issues, all require the project host's subscription to be active. Renaming a project also requires the caller's own subscription to be active.
- Project members come from the project's team. Someone joins the team first, from the team's Members page, and can then be added to any of its projects.
- Free and Personal include one read-only teammate. The team's owner can invite one person besides themselves; on a project they can only be given Read, and only the owner creates projects and tags in that team. Pro and above have team management: more seats, and members can be given Write or Admin. The project's plan decides - the plan of the account that pays for it. Removing a member works on every plan, and moving from a paid plan to Free removes everyone but the owner from the account's teams.
- A team can require two-factor authentication, on every plan. Its owner switches it on from Teams → SSO & 2FA; until a member turns 2FA on, they can only reach the page that sets it up.
- A team's audit log is its owner's. On Pro and above, the owner can see who changed the team's members, roles, sign-in rules and API keys; see Applications → Audit log.
- The project creator is protected: their role cannot be downgraded and they cannot be removed, even by another Admin.
- Admins cannot change their own role, and nobody can remove themselves from a project.
- Non-members cannot tell a private project from a nonexistent one — requests fail identically either way.
Not governed by project roles
- Subscriptions and payment (invoices, billing portal, plan changes) belong to the account holding the subscription, not to any project role. The project-scoped part of billing is spend controls, which is Admin-only.
- Tags are team-scoped — creating and editing them depends on team membership.
Billing
Subscriptions are managed per team, from Billing → Manage subscription. See Billing & usage for plan details, how usage is tracked, and how to control ingestion spend before it hits your bill.